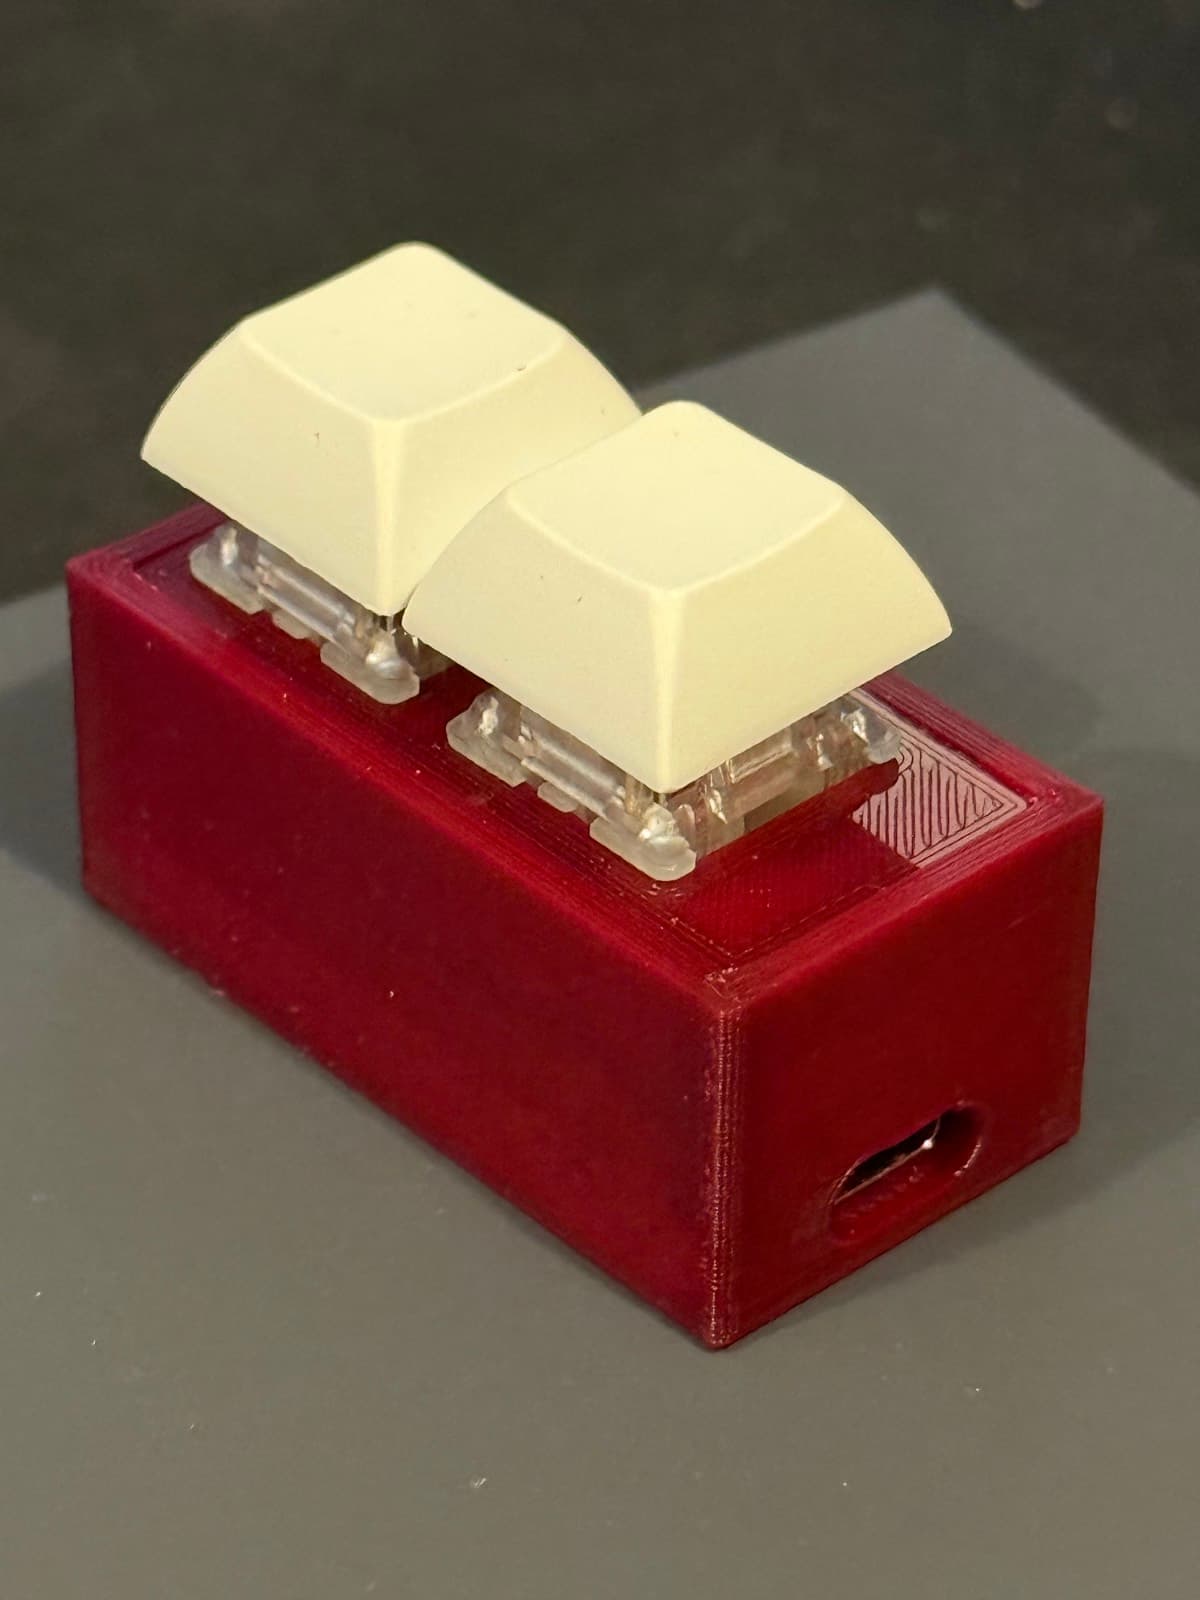
Custom Keyboard
ONGOING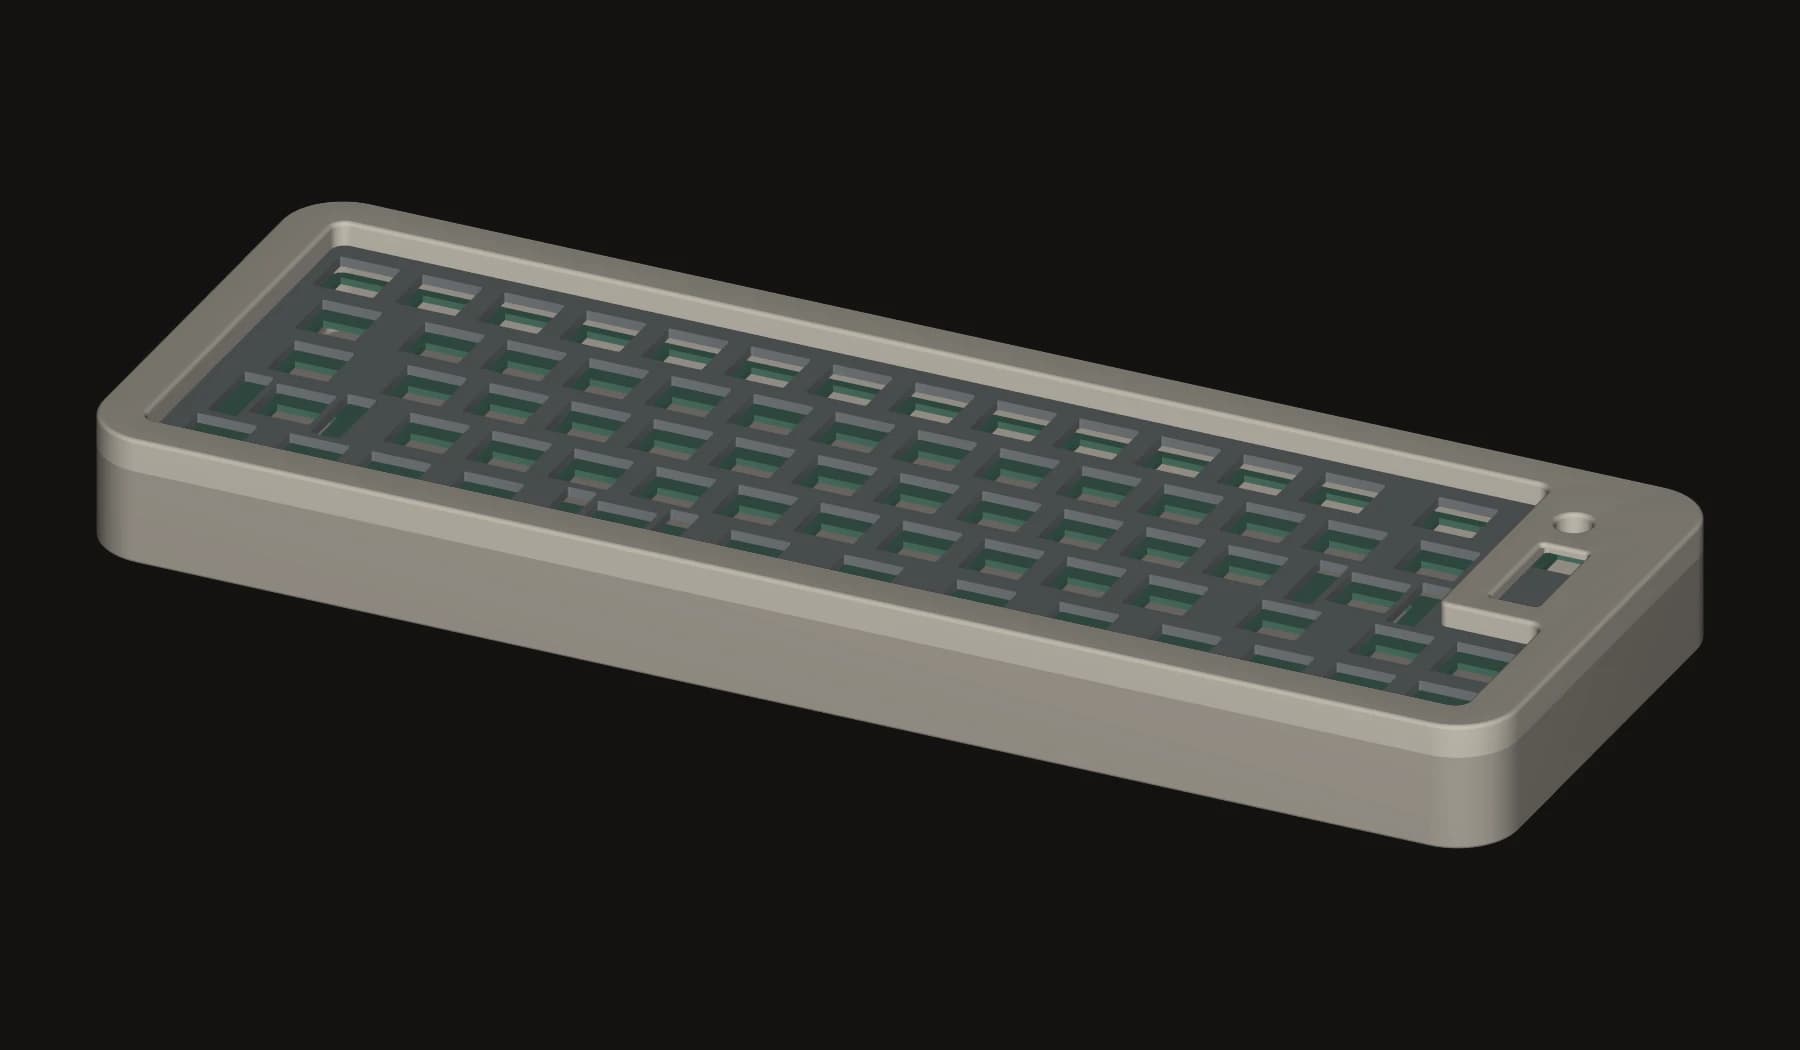
Overview
I designed this keyboard to bring the electronics, firmware, and physical layout into one personal build. It grew from an earlier two-key copy-paste gadget into a 65% wireless keyboard. The PCB and complete enclosure are my designs; enclosure development is ongoing.
Hardware Architecture
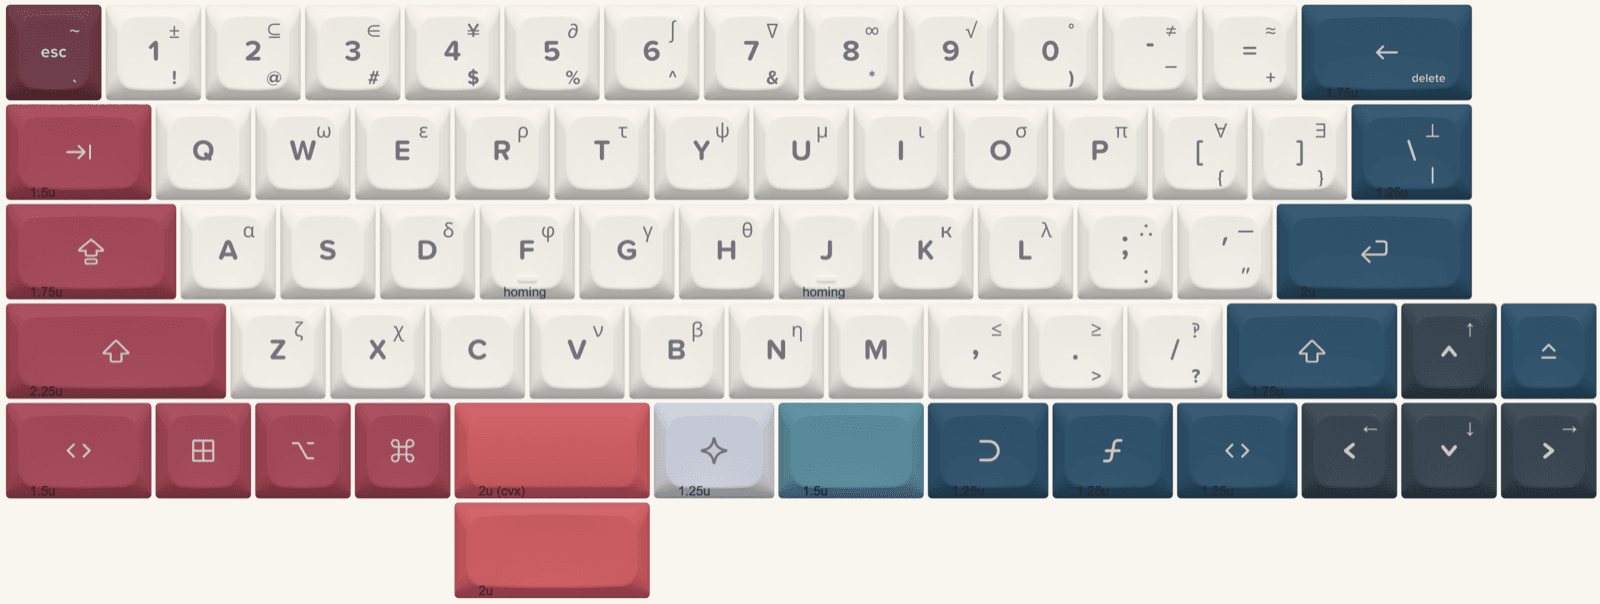
The design uses a nice!nano v2 (nRF52840), a 68-key 5×14 matrix, an MCP23017 I2C expander, a nice!view display, and an EC11 rotary encoder. The rows connect to direct GPIO while the columns are scanned through the expander. The PCB, switch plate, and enclosure have to fit together as a physical assembly.
PCB Design
I designed the schematic and PCB in KiCad and had the board fabricated by JLCPCB. Per-key diodes provide matrix isolation to prevent ghosting. Full N-key rollover has not been validated.
Firmware
All of the current ZMK firmware works on the keyboard. The configuration includes multiple BLE host profiles, ZMK Studio remapping, encoder-controlled display modes, and a WPM typing test. The linked repository is Firmware Source; the KiCad and enclosure CAD files are not publicly hosted there.
Enclosure / Mechanical Integration
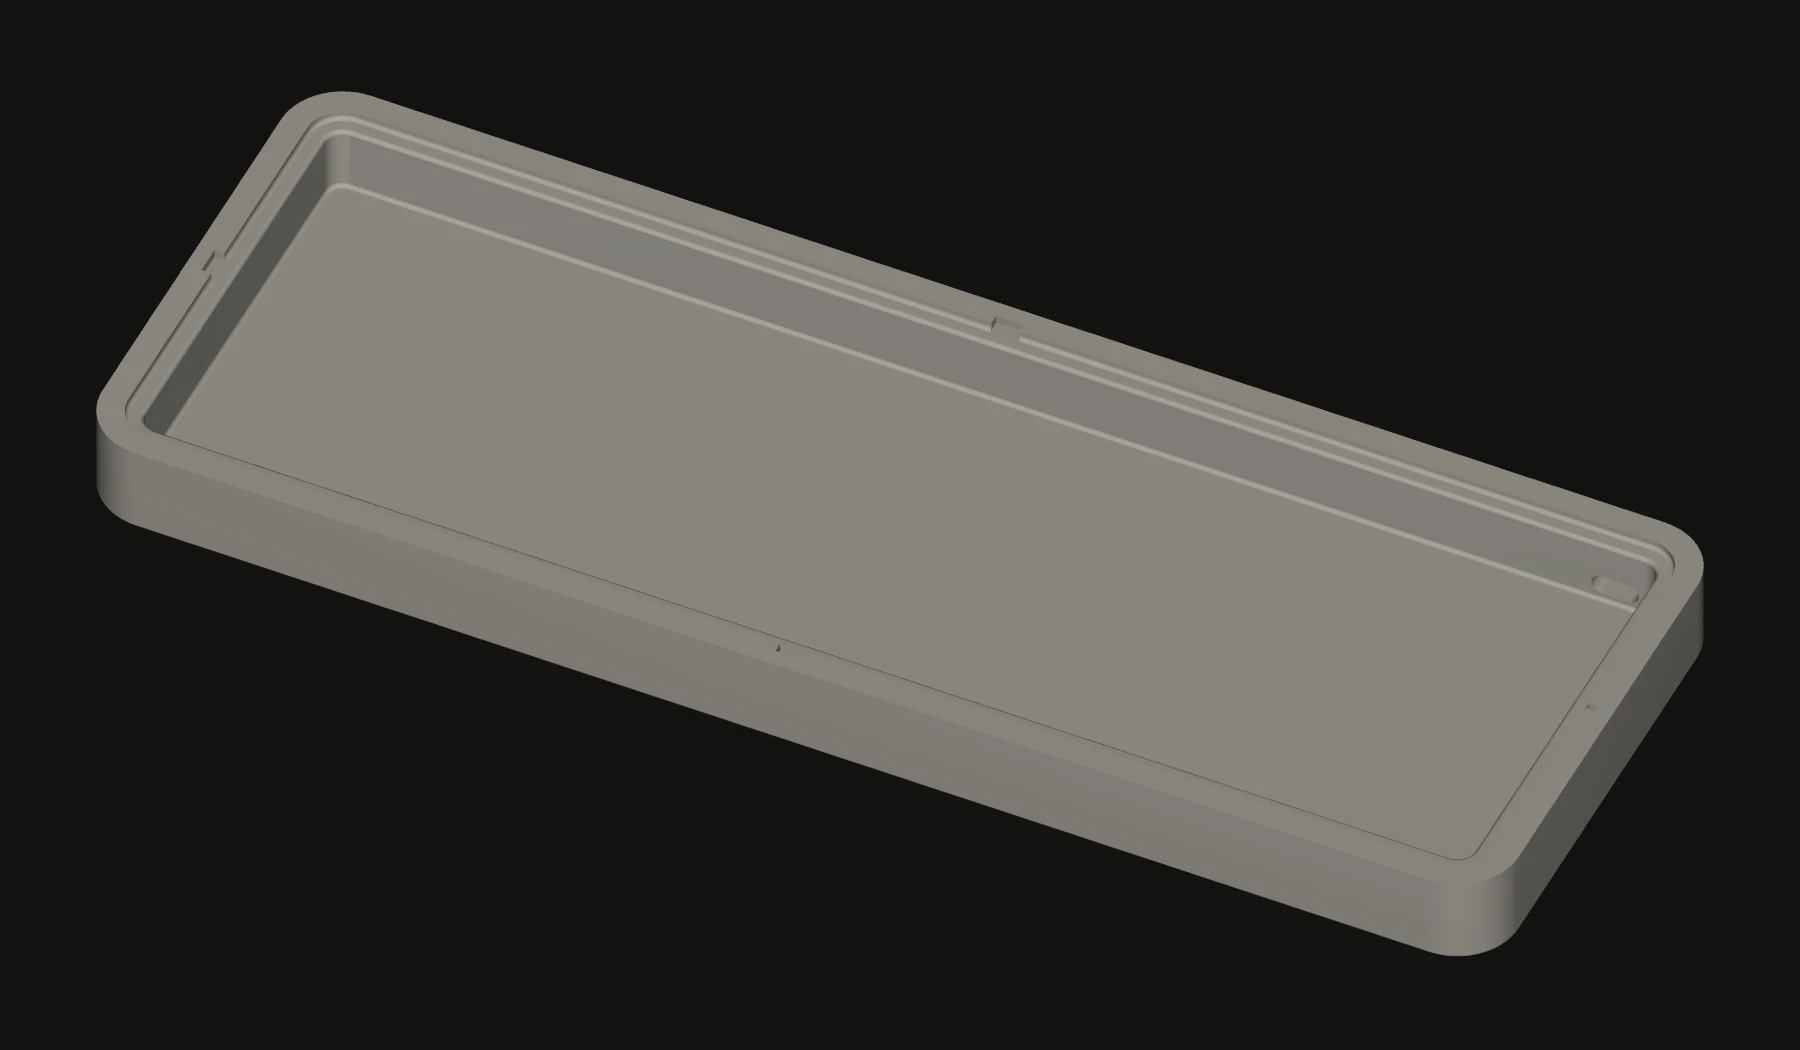
I modeled the complete enclosure around the electronics. PCB and switch-plate geometry from the KiCad design provided reference geometry in the CAD workflow, so the enclosure could be designed around the actual board and plate interfaces.
The enclosure itself is my design. I have produced multiple 3D-print iterations to work through physical fit and integration, and the current CAD remains a functional work in progress.
Iteration / Debugging
Multiple enclosure versions have been printed to check the PCB and plate interfaces in physical parts. Current refinements focus on the base incline, USB-C access, and the nice!view viewing window.
Current State
The keyboard is operational and all current firmware works. I am finalizing the base layout, including the incline angle and USB-C port location, as well as the viewing window for the nice!view display. These mechanical details are being refined before casting or milling; that fabrication has not happened yet.